© Turkuvaz Haberleşme ve Yayıncılık 2024
This Halloween, like so many other events this year, will be different as we all still need to be cautious of the coronavirus. Although trick-or-treating may not be the best way to celebrate this spooky holiday due to the need for social distancing and risk of transmission, that does not mean you and your kids cannot have fun at home.
Here are some great activities for your at-home Halloween feast and treats that you can make for your kids or your kids at heart.
Mummy and spider hot dogs
These are probably the easiest snacks that can look spooky if done right. You’ll need:
For the mummies, let the puff pastry thaw and cut it into long strips that are as thin as possible so it resembles bandages. Wrap the strips around the hot dogs while trying to keep the ends on the “down” side of the hotdog. Try to keep a small place on the sausage unwrapped for the eyes. Once you are happy with your pastry bandages around the sausages, press in two cumin seeds for the eyes and brush on some egg wash. Bake according to the instructions provided for the pastry.
For some spider hot dogs, you’ll want to cut your sausages into shorter pieces if they are not already miniature size. Again, cut the puff pastry into strips, but this time make sure they are about 2-3 centimeters (1 inch) thick. Wrap the puff pastry around the hot dog and trim off the excess. Cut both sides of the hot dog into quarters right up to the puff pastry and again use the cumin seeds to make some eyes. Brush on a wash of egg yolk and bake.
Serving these with some red sauce, whether it be ketchup, sweet and sour sauce, chili sauce or anything along those lines, will make for a great bloody feature!
Grave dessert cups

Chocolate pudding or ice cream is fun and all but on such a spooky occasion you can easily spice these up and make it into a fun activity. You’ll need:
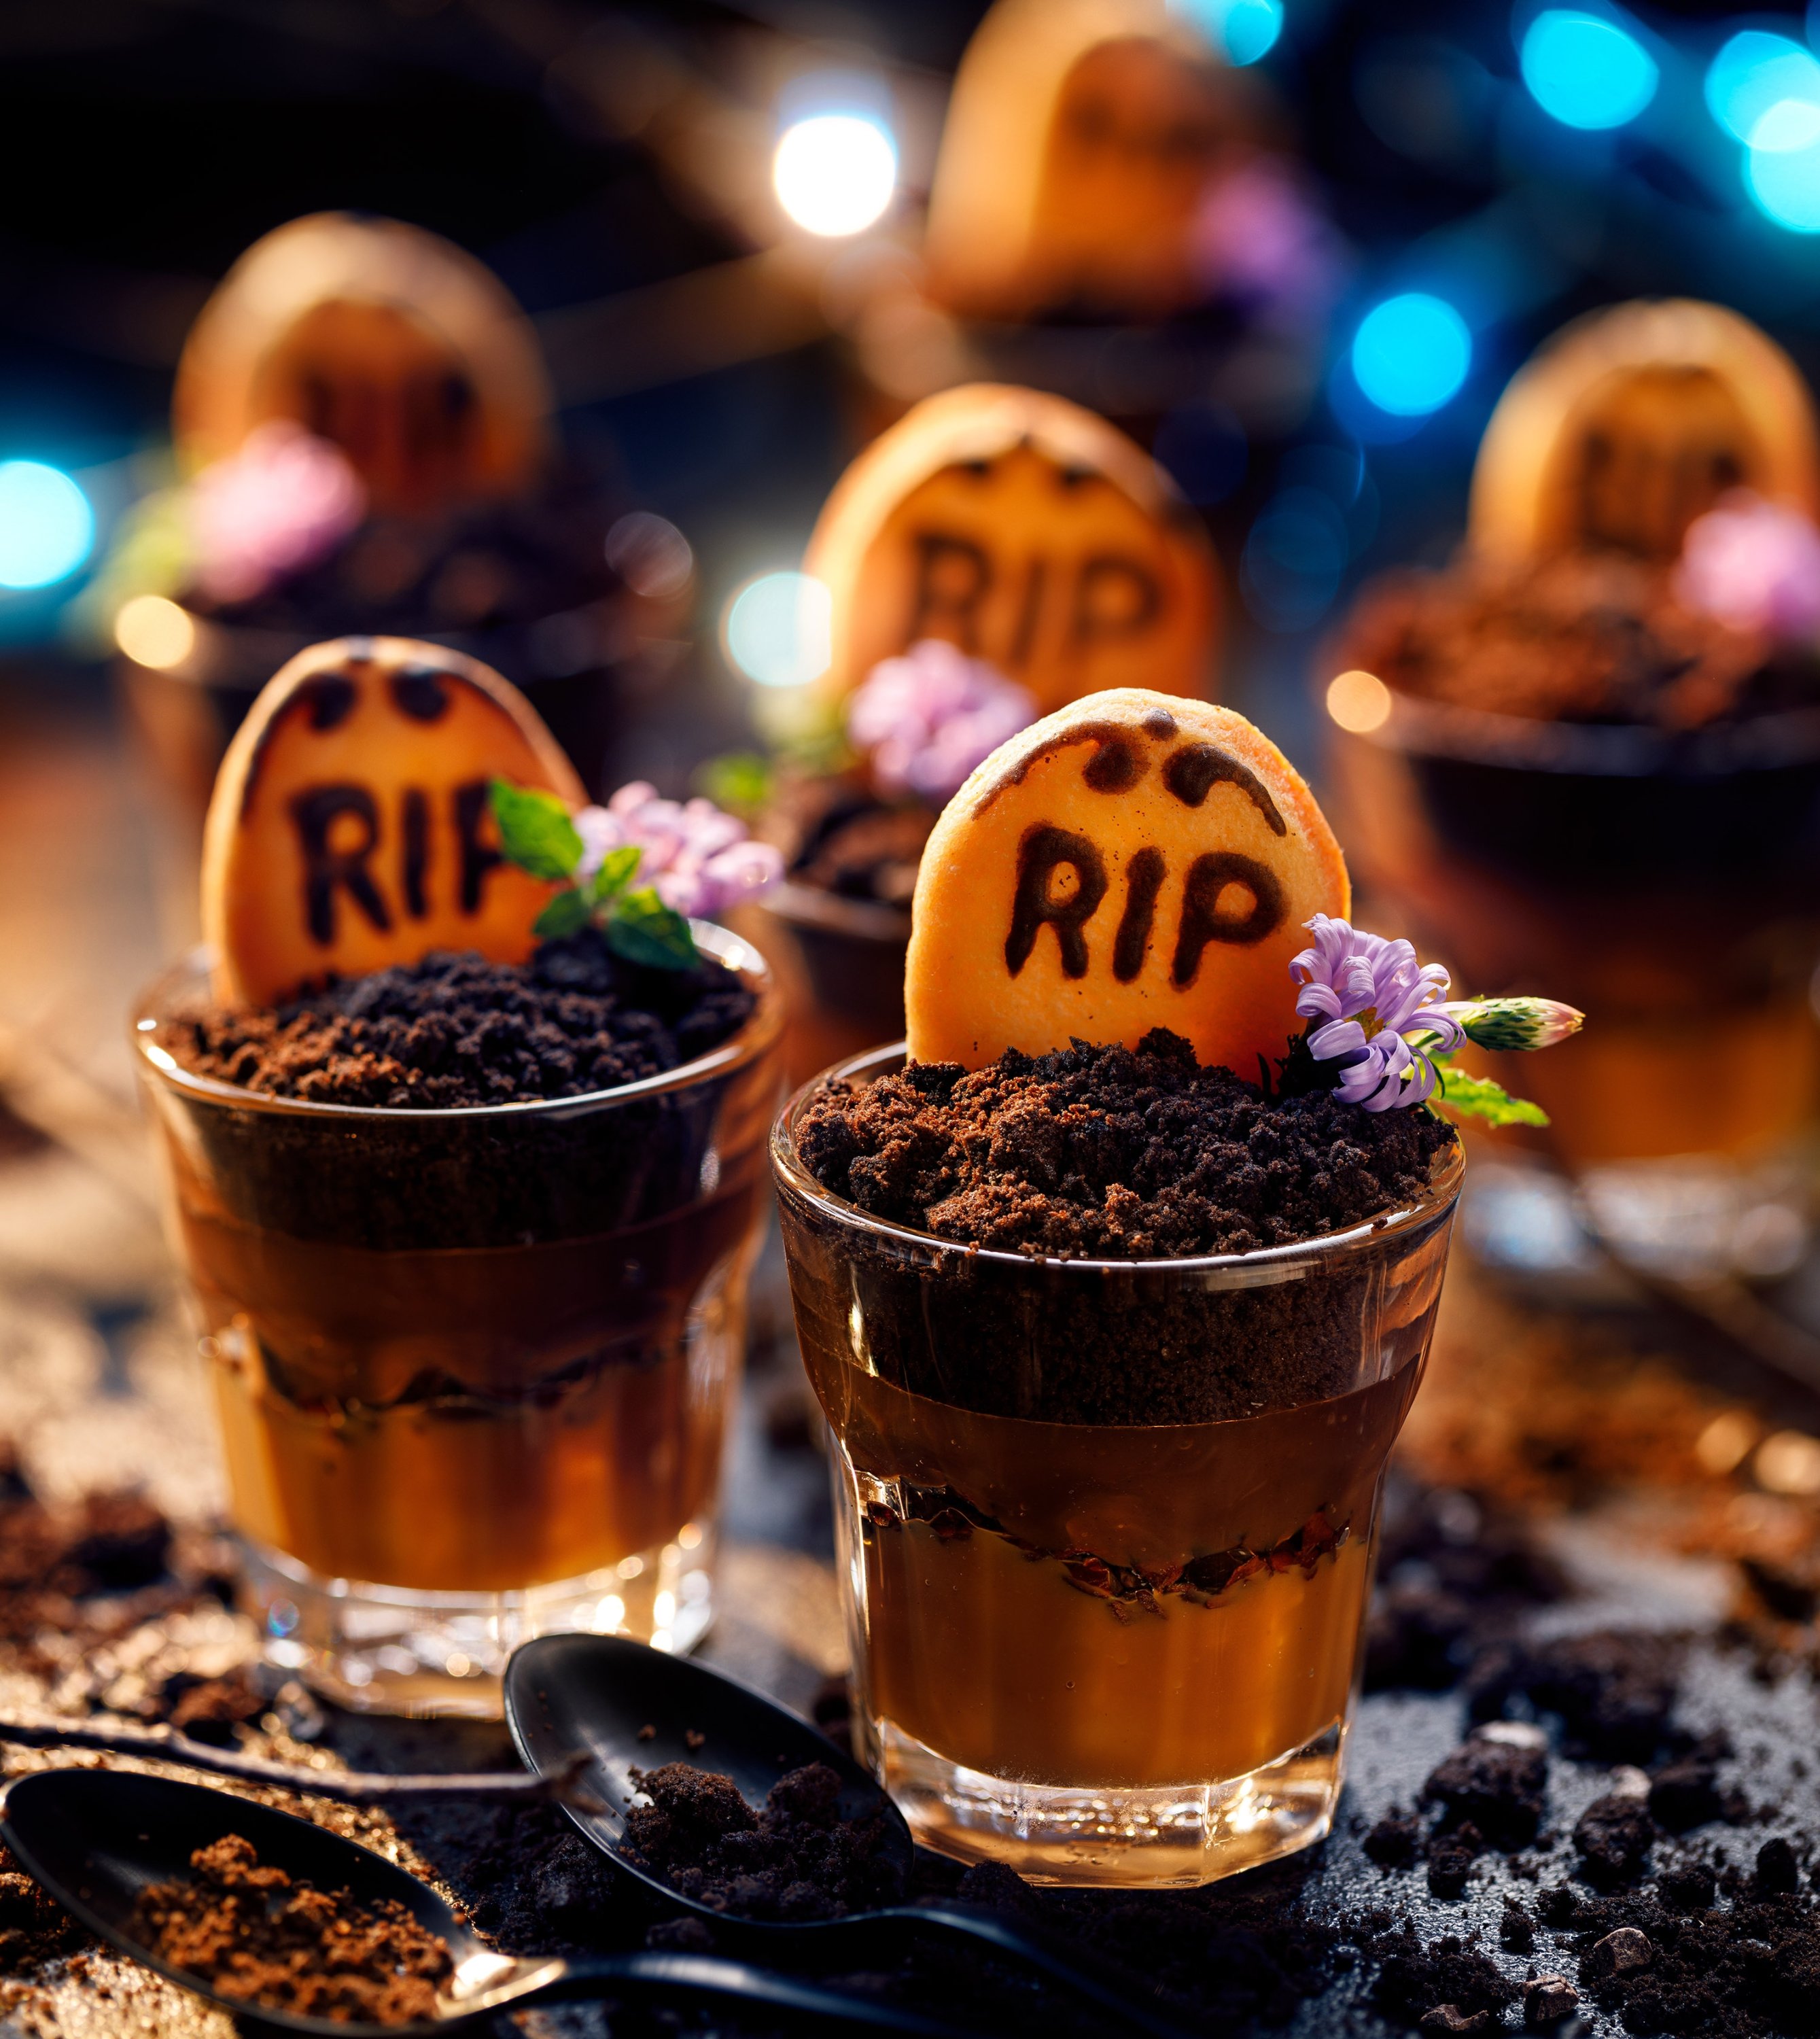
First off, you'll want to prepare your tombstones. Take the oblong cookies and pipe on an “R.I.P.” or other texts you'd like on a headstone by melting some of the dark chocolate and filling a plastic bag or parchment paper with it to create your own piping bag – you don’t need a special piping bag to get creative! Just cut the corner of the plastic bag a little bit or roll the parchment paper into a cone and cut the point. If you want to decorate your tombstone further, attach some green sprinkles on it with the help of melted chocolate as your glue to create some fake moss. For an extra touch, pipe some skeleton hands or other body parts onto some baking paper from white chocolate and then toss these into the fridge so they can harden. You could also make tiny spiders out of chocolate and place them inside your grave cups.
For the soil, you'll first need to put your pudding or ice cream (though wait until the very last moment before serving if you are choosing the latter) into glass cups or any other see-through container and start decorating. Push the tombstone cookies into your dessert, with the back resting against the rim of the container. Then sprinkle some crushed chocolate cookies (like Oreos or the Turkish-equivalent, Eti Negro cookies) or leftover cake over it to give texture and the impression of soil. Stick in your chocolate skeleton hands and maybe add some spiders on the grave? You can use the green sprinkles as some grass or foliage. Add a few gummy worms or other spooky gummies such as snakes or skulls as finishing touches.
Spider web crackers
This is a fun snack that simply needs two ingredients: stick pretzels/stick crackers and chocolate. You'll need to arrange the sticks to form the base of a spider web and use melted chocolate to complete the rings. If you want to go extra fancy, you can make some chocolate spiders on a separate sheet of baking paper, let them harden and add these to the pretzels by helping them stick with a dot of chocolate.
Cheese broomsticks
If you have some left over stick pretzels or stick-shaped beef jerky, you can use them as your broomstick handles. For the broomstick fibers at the bottom some string cheese or cheddar will do the trick. You can either use some chives or sliced olives to act as the ring that holds your broom together.
Floating hands
Solid snacks are great, but our thirst must be quenched as well. How about filling a single-use medical glove (non-powdered, of course) and fill it with water. Tie the glove off and put it into the freezer on a plate just in case something might go wrong. Overnight it should freeze completely and with the help of a bit of water, you should be able to remove the glove from the now frozen water. Plop the frozen hand into some red-colored beverage such as pomegranate or strawberry juice and see it float around. It surprisingly doesn’t melt as fast as I would have thought it would (it held out for more than three hours despite the warm weather).
If you want an eye-catching centerpiece, you might want to try this:
A light-up jack-o'-lantern cake
Carving a pumpkin can be fun, but it is also tiring. So why not make a cake that looks like one and can be lit up? This would tie in great with all the other snacks and be the center of attention at any Halloween party at home. You’ll need:
I have listed store-bought bundt cakes as an ingredient to save time, but you can, of course, make your own cakes at home. Start by shaving off the uneven sides of the cakes to create a smooth surface. Turn one of the cakes upside down and use it as your base, then get the second one and place it on top to create a pumpkin-like ellipsoid shape. If you feel that the height is too much for you, you can always cut them down. Once you are happy with the size, put some icing between the two layers and carve out the insides of your "lantern." I recommend using a serrated and pointy knife to make the cutting easier. Before making holes for the eyes, nose and mouth for your lantern cake, align the nose with where the upper and lower layers of the cake connect to keep it centered. Make sure you start off small with your holes as cake tends to crumble.

Before you cover your cake with icing, you want to try out your lighting situation. Battery-powered lights are the best option. If the hole in the middle of the cake is too small for your light source, you can cut a bit out from the inside. Though I'd recommend a tealight, fairy lights also work well. If you are happy with the lighting, remove it before covering the cake in icing, ganache or frosting which you have colored to the shade of orange you prefer. Start by applying a thin layer to seal in the crumbs and let that rest in the fridge for a bit. Then you can go in with the second layer and cover it completely.
While the cake rests in the fridge you can get your smaller bundt cake that will act as a cover for the hole in the middle and be the stem of your pumpkin. You'll later cover it in green frosting to complete the look. If you don’t have such a small mold to bake it yourself, you can use the leftover pieces of cake you shaved off at the beginning and shape them into a stem with the help of the frosting. Cut out a small piece of carton, put it into a plastic bag and cover the whole so that your stem cake has a platform to rest on.
Keep the cake in the fridge. When you want to serve, take it out and place your light inside. If you want your lights to stay clean wrap them in small fridge or freezer bags or wrap them in cling film before closing the top off with your stem.
